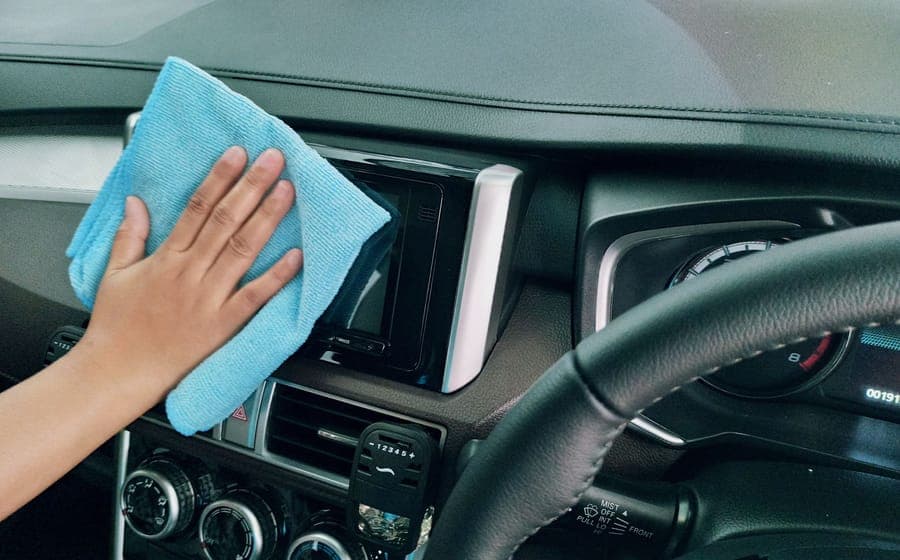
Tesla's owner's manual advises against fitting a touchscreen protector and states that damage caused by installing one is not covered by the vehicle warranty. If you have not read the warranty guide, read it before you open the box. What follows assumes you have decided to proceed.
Applying a 15-inch protector is not harder than a phone protector in any clever way — it is just bigger, which means more surface area for dust to land on and more leverage for a misalignment at one corner to become a gap at the other. Almost every failed install is a dust problem, and dust is controllable.
What you need
- The alignment frame, if one came in the box. If it did, this job becomes much easier.
- The supplied wet wipe and dry microfibre cloth, plus one more clean microfibre of your own.
- The dust-removal stickers from the box, or a roll of good-quality tape.
- A plastic card or the supplied squeegee.
- Twenty minutes, in a garage or shade. Not in direct sun.
The method
Step 1. Put the car in a state where the screen is safe to touch
Park, put the car in Park, and turn the display off through the controls menu if your software allows it — a dark screen shows dust far better than a lit one, and it prevents stray inputs while you work. Do not do this with the car in motion or in a drive-ready state.
Step 2. Work somewhere still and cool
A closed garage is ideal. Avoid any airflow — no open doors, no fan, no climate control running, because the dash vents blow straight up the face of the display. Direct sun is the other thing to avoid: it makes the adhesive tacky and the glass hot.
Step 3. Clean in two passes
Wet wipe first, in overlapping strokes, and let it flash off completely. Then dry microfibre, in one direction only, not in circles. Then look at the screen from an acute angle with a light behind you — that is the only way to see the particles that will ruin the job.
Step 4. Lift remaining dust with tape, not with the cloth
A cloth pushes a particle around; tape takes it off. Dab, do not wipe. Keep going until an angled look under light shows nothing. This is the step people rush and it is the step that decides the outcome.
Step 5. Dry-fit before you peel anything
Hold the protector over the display and confirm the cut matches the bezel on all four sides, and that any camera or sensor cut-out lines up. If the fit is wrong, you have the wrong size — stop now while it is still returnable.
Step 6. Align, then let the adhesive do the work
If you have a frame, seat the frame on the bezel first and drop the protector into it. Without a frame, hinge from the top edge: hold the top in position, peel the backing a few inches, lower the top edge into place, then release the rest gradually and let the adhesive pull itself down. Do not press the middle first — that traps air at the edges with nowhere to go.
Step 7. Squeegee from the center out
Short, firm strokes from the middle toward the nearest edge, working around the screen. Air goes out the way it came in. If you start at an edge you are pushing air into the middle.
Step 8. Leave it alone for an hour
Small bubbles with no dust at their center are air, and the adhesive will usually absorb them over the next hour or two. Judging the job immediately is how people peel off a protector that would have settled.
When a bubble will not go
Look at its center. If there is a dark speck, that is dust and it will never clear — you have to lift the nearest edge with a piece of tape, pull the protector back far enough to reach it, remove the particle with another piece of tape, and lay it down again. If the bubble is clean and still there after a day, press it toward the nearest edge with a card through a microfibre cloth.
Removal, when the time comes
Lift one corner with a plastic card or a fingernail, never a metal tool, and pull slowly and evenly. Tempered glass comes off in one piece if you are patient and shatters if you flex it hard. Clean any adhesive residue with the supplied wipe or a little isopropyl alcohol on a microfibre cloth — and follow Tesla's own touchscreen cleaning guidance rather than reaching for a household cleaner.
What to install
The method above works with any protector. It works best with a thick tempered-glass panel, because glass can be lifted and re-set in a way film cannot.
Quick picks
| # | Product | Best for | Score | Price |
|---|---|---|---|---|
| 1 | 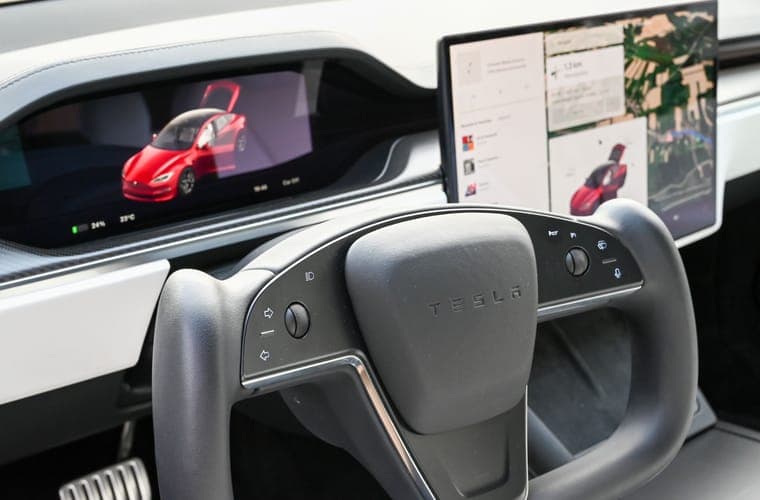 3W 15.4-inch matte tempered glass Honest about fitment, which in this category is worth more than the glass itself. | Easiest to install well | 8.4 | |
| 2 | 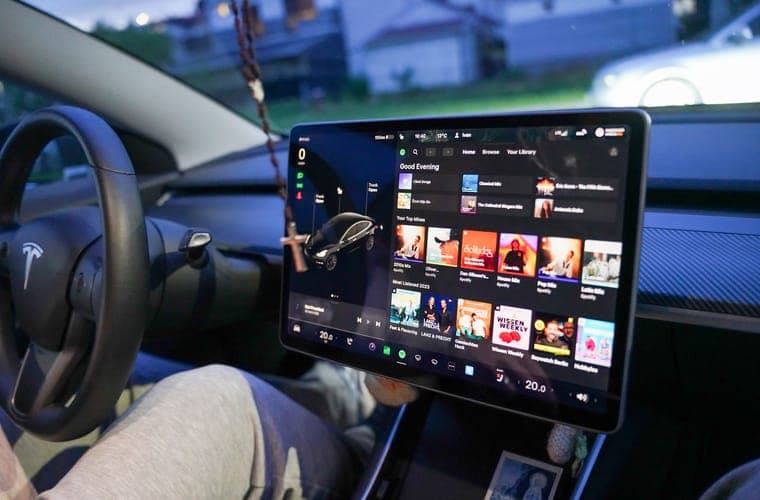 TPARTS tempered glass (glossy or matte) A straightforward Highland protector with the finish left up to you. | Best for the Highland specifically | 8.2 |
Scores are our editorial assessment of fitment scope, published materials and coverage. They are not lab measurements and we have not tested these products.
1. Easiest to install well
3W 15.4-inch matte tempered glass
Rigid enough to lower onto the screen as a single plane, which is what makes the one-edge-first method work. A thin film flexes mid-placement and traps air no matter how careful you are.
Best for: Owners who want matte coverage for front and rear screens together
Fits: Model 3 Highland (2024-2026) · Model Y Juniper (2025-2026)
What works
- One of the few listings that names the display it does not fit — exactly the disclosure this category needs
- Front and rear pieces in one purchase
What does not
- Matte costs some sharpness, as it always does
- The explicit 2026 exclusion means you must know your trim, not just your model year
Manufacturer specifications
- Matte coating described by the manufacturer as glare-reducing while retaining HD clarity
- Covers the front 15.4-inch display and the rear screen
- Listing explicitly states it does NOT fit the 2026 Model Y Juniper 16-inch display
Specifications as published by the manufacturer. We have not independently tested this product.
Specification sources: 3W 15.4-inch tempered glass screen protector listing
2. Best for the Highland specifically
TPARTS tempered glass (glossy or matte)
Cut for the Highland's display and bezel, so the alignment reference you are working to is the screen edge rather than a guess.
Best for: Highland owners who want to choose the finish themselves
Fits: Model 3 Highland (2024-2026)
What works
- Same fit in both finishes, so the decision is purely about glare versus sharpness
- Highland-specific rather than a shared Model 3 part
What does not
- No alignment frame, so a careful first placement matters more
- Less independent reporting than the better-known brands
Manufacturer specifications
- Available in glossy and matte for the same part
- Cut for the 2024-2026 Model 3 Highland display
- Tempered glass construction
Specifications as published by the manufacturer. We have not independently tested this product.
Specification sources: TPARTS tempered glass screen protector for Model 3 Highland
Questions people actually ask
Will small bubbles go away on their own?
Air bubbles usually clear within a few hours as the adhesive settles. Bubbles with a dark speck at the center are trapped dust and never clear.
Should I turn the screen off first?
Yes, if your software lets you. A dark display shows dust much more clearly and prevents stray inputs while you work.
Can I do this outside?
Only somewhere completely still and shaded. Any breeze puts dust on the adhesive, and direct sun makes the glass hot and the adhesive tacky.
What if it is misaligned after it sticks?
Lift it off immediately with tape at one corner and realign before the adhesive fully sets. If you have already squeegeed it down and it is only a millimeter out, living with it is usually better than risking a dust intrusion on a second attempt.
Sources
- Tesla Owner's Manual (North America PDF) — touchscreen care and screen-protector guidance
- Tesla Owner's Manual — cleaning the touchscreen
- REEVAA protector with alignment frame
- Does a Tesla need a screen protector? — installation notes
Specifications and fitment claims on this page come from the manufacturer and retailer pages listed above. We have not tested these products and do not claim to have.
Read next
Screen Protectors
Best Screen Protectors for the Model 3 Highland
Protectors for the 15.4-inch Highland display and its 8-inch rear screen, the best-supplied size in the range.
Screen Protectors
Tempered Glass vs Film Screen Protectors
Glass against film on thickness, touch response and scratch resistance — and why Tesla's warning tilts the answer.
Screen Protectors
Matte vs Glossy Tesla Screen Protectors
Matte against glossy: what each finish costs you, and which to pick by display resolution and how you use the car.
Guides
Does a Screen Protector Void Your Tesla Warranty?
Exactly what Tesla's manual says about touchscreen protectors, what it means for warranty cover, and the alternatives.
Guides
Do You Need a Tesla Screen Protector?
The case for and against, separated by what you are actually worried about — scratches, glare or fingerprints.