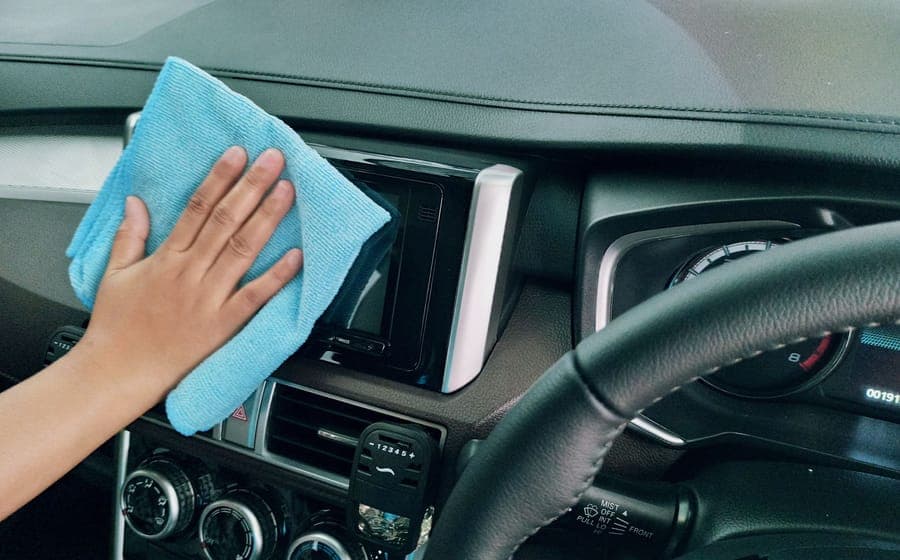
A Model Y mud flap install takes about twenty minutes for all four arches, needs no jack and no lift, and uses one or two hand tools. The only part that needs thinking about happens before you start: whether your set attaches to existing fixing points or asks you to drive a self-tapping screw into the wheel arch liner. One of those is reversible and one is not.
Work out which you have bought first. Read the listing and the instruction card for the words no-drill, existing mounting points, or self-tapping. If the set supplies screws and no clips, it is a drilling install, whatever the listing implies. Make that decision with the box closed, because once the hole exists it stays there even if the flap comes back off.
What you need before you start
- The flaps, laid out and identified left and right, front and rear. They are not interchangeable and two of them look nearly identical.
- A Phillips screwdriver, or the driver bit supplied with the set. A powered driver is faster and is also how liners get cracked - use it on the lowest torque setting or not at all.
- A clean cloth and some water. Grit behind the arch is what you are about to trap under a flap.
- Twenty minutes and a flat, level surface. The wheels stay on the ground throughout.
- A phone light. The fixing points sit up inside the arch where daylight does not reach.
Step 1. Clean the arch lip before anything else
Wipe the lip of the wheel arch and the liner edge where the flap will sit. Grit left in place gets clamped between the flap and the paint, and that is abrasion that works every time the car moves. Two minutes here is the highest-value part of the job.
Step 2. Dry-fit each flap and confirm left from right
Hold the flap against the arch without any fixings and check the curve follows the lip along its whole length. If one end stands off, you have the wrong corner. Confirm all four before you fit any of them - the fronts and rears differ in both profile and length.
Step 3. Find the existing fixing points
With the light, look up inside the arch at the liner edge. Most arches have factory fixings there already. If the flap's holes line up with them, your install is a no-drill install, and you remove those fixings, place the flap, and refit them through it.
Step 4. If it is a drilling install, mark before you drive anything
Hold the flap in place, mark the hole positions on the liner with a pencil, then take the flap away and check each mark is on the liner and not on a painted panel or a cable route. Driving a screw into the liner is fine. Driving one into anything behind it is not.
Step 5. Start every fixing by hand
Get each screw a full turn or two in by hand, then finish with the driver. Hand-starting is what stops a self-tapping screw wandering across the liner and cracking it, which is the single most common way this job goes wrong.
Step 6. Snug, do not tighten
Stop as soon as the flap is held firm against the liner. Over-tightening deforms the mounting flange and pulls the flap out of line with the arch, and on a cold day it can split the liner outright. Firm, not tight.
Step 7. Check the clearance with the wheel turned both ways
Turn the steering to full lock each way and look at the front flaps. Nothing should touch the tyre. Then drive slowly for a minute and listen - a flap that contacts the tyre announces itself immediately, and it is far easier to correct now than after a week.
What to look for when choosing the set
The install is only as good as the part, and three things decide whether a set fits without a fight. The first is whether the listing names your generation: the Juniper and the 2020-2024 Model Y have different arch shapes, and a flap cut for one sits proud on the other. The second is the hardware - clips or screws, and how many. The third is coverage behind the front wheel, which is where stone chips actually land.
The factory-versus-aftermarket decision follows from those, and it is a real decision rather than a quality ranking: factory or aftermarket mud flaps sets out which is better at what. If you are not yet convinced you need them at all, are mud flaps worth it starts from the rocker panel behind your front wheel and works backwards.
Quick picks
| # | Product | Best for | Score | Price |
|---|---|---|---|---|
| 1 | 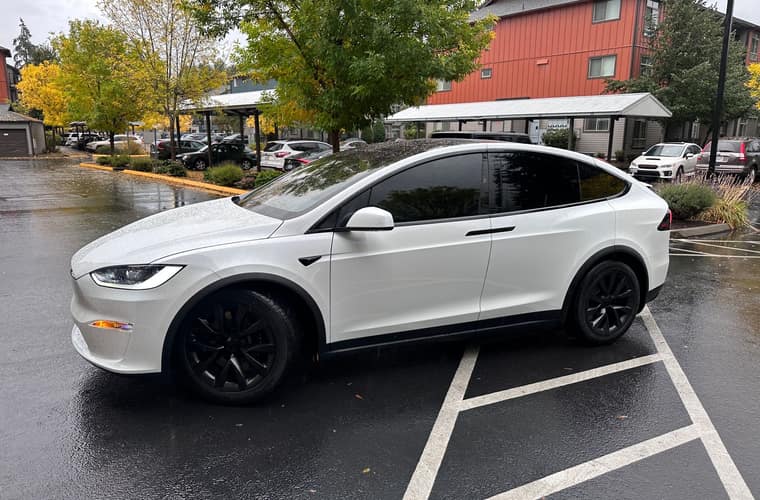 Tesloid snow and mud flaps The coverage upgrade over the factory flap, for the people who need it. | Best for coverage | 8.7 | |
| 2 | 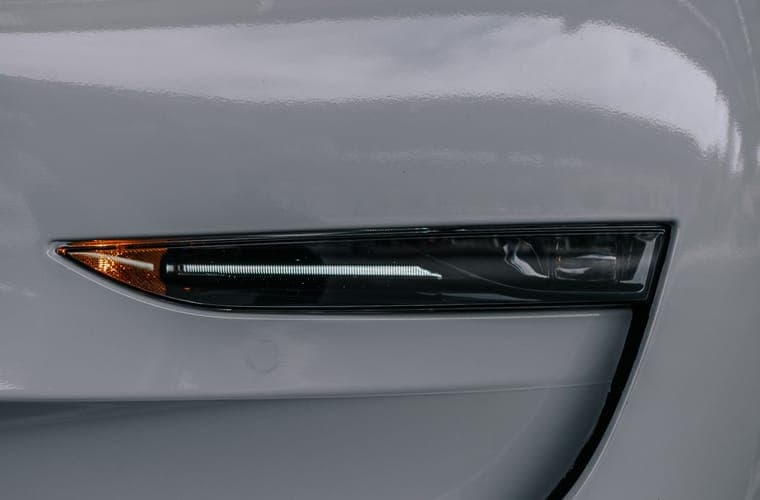 Tesla mud flaps (factory) The safe flap. Buy it for certainty, not for maximum coverage. | Easiest install | 8.2 | |
| 3 | Tesery Model 3 / Model Y mud flaps The discreet flap. Choose it when you want protection nobody notices. | Broadest fitment | 8.2 |
Scores are our editorial assessment of fitment scope, published materials and coverage. They are not lab measurements and we have not tested these products.
1. Best for coverage
Tesloid snow and mud flaps
Listed separately for the 2020-2024 Model Y and the Juniper, and sold as snow and mud flaps rather than as trim, which is the honest description of a flap with real coverage behind the front wheel. Check the hardware in the box against the fitting method you intend to use before you start.
Best for: Winter drivers who want more coverage than the factory flap
Fits: Model Y (2020-2024) · Model Y Juniper (2025-2026)
What works
- Deeper than the factory flap, which is the whole point of fitting one
- Stays flexible rather than going brittle when it is genuinely cold
What does not
- Deeper flaps are more exposed on steep driveway lips and curbs
- Finish is functional rather than invisible
Manufacturer specifications
- Flexible impact-resistant material chosen to stay pliable in cold weather
- No drilling required
- Separate 2026 Model Y and Model 3 part numbers
Specifications as published by the manufacturer. We have not independently tested this product.
Specification sources: Tesloid Model Y snow and mud flaps (2026), Independent Juniper mud-flap comparison
2. Easiest install
Tesla mud flaps (factory)
Tesla's own part, ordered against your car and generation, with factory fixings in factory locations. This is the one to buy if you want the install to be a twenty-minute job with no decisions in it. Coverage is conservative, which is the trade.
Best for: Owners who want a factory-fit flap and no drilling debate
Fits: Model Y (2020-2024) · Model Y Juniper (2025-2026) · Model 3 (2017-2023) · Model 3 Highland (2024-2026)
What works
- Fitment and finish match the car because it is the car maker's own part
- No question about whether a fastener will hold
What does not
- Smaller coverage area than the deeper aftermarket flaps
- Priced above several aftermarket sets that cover more
Manufacturer specifications
- Sold by Tesla for the specific Model Y generation
- Mounts to existing fixing points with no drilling
- Four-piece set
Specifications as published by the manufacturer. We have not independently tested this product.
Reference: Tesla Shop — Model Y mud flaps — we do not earn a commission there.
Specification sources: Tesla Shop Model Y mud flaps
3. Broadest fitment
Tesery Model 3 / Model Y mud flaps
Covers both Model 3 generations and both five-seat Model Y generations, which makes it useful if you are fitting flaps to two cars. The listing publishes less hardware detail than the others, so count and identify the screws before fitting day rather than halfway through.
Best for: Owners of either car who want one brand to cover both
Fits: Model 3 (2017-2023) · Model 3 Highland (2024-2026) · Model Y (2020-2024) · Model Y Juniper (2025-2026)
What works
- Convenient if you run one of each car in the household
- Low profile, so it is the least visually intrusive flap in this group
What does not
- A line that spans two cars means you must read the variant picker carefully
- Lower profile means less protection than the deeper winter flaps
Manufacturer specifications
- Single product line listed for both Model 3 and Model Y
- No-drill fitment using existing arch fixings
- Four-piece set
Specifications as published by the manufacturer. We have not independently tested this product.
Specification sources: Tesery Model 3 / Model Y mud flaps
After the install
Check the fixings after the first week. A flap sees constant small vibration and the first few hundred miles are when anything under-tightened announces itself. One pass with the screwdriver is all it needs, and it is far less effort than finding a flap folded under the tyre.
Mud flaps keep grit off the rocker panel; they do nothing for the carpet inside the car, which is a separate purchase and a more frequent complaint. If you have just fitted flaps because you noticed grit on the paint, it is worth checking the footwells at the same time - the Model Y floor mat roundups cover that side of it.
Questions people actually ask
Do you need to drill to fit Model Y mud flaps?
It depends on the set. Some use the factory fixing points already in the wheel arch liner and need no drilling at all; others supply self-tapping screws. Check the listing for no-drill or existing mounting points before ordering, because a self-tapped hole is permanent.
How long does a Model Y mud flap install take?
About twenty minutes for all four arches, with the car on the ground. Most of that time is cleaning the arch lip and dry-fitting, which are the two steps that decide whether the result looks right.
Do you need to jack the car up?
No. Every fixing point is reachable with the wheels on the ground and the steering turned to help you get at the front arches.
What is the most common mistake?
Driving a self-tapping screw with a powered driver without hand-starting it. The screw wanders, the liner cracks, and the crack is visible from outside the arch. Start every fixing by hand.
Can I fit Model 3 flaps to a Model Y?
No. The arch shapes are different between the two cars and between generations of each, which is why brands publish separate part numbers for each one.
Sources
- Tesloid Model Y snow and mud flaps listing
- Tesla Shop - Model Y mud flaps (factory part)
- Tesery Model 3 and Model Y mud flaps listing
Specifications and fitment claims on this page come from the manufacturer and retailer pages listed above. We have not tested these products and do not claim to have.
Read next
Floor Mats & Liners
Tesla Mud Flaps: Factory Part or Aftermarket?
Factory mud flaps against the aftermarket: coverage, hardware, fitting and which to buy for how you drive.
Floor Mats & Liners
Best Mud Flaps for the Model Y and Model 3
No-drill mud flaps for both cars, with a straight answer on which climates actually need them.
Guides
Are Model Y Mud Flaps Necessary?
A one-minute test for whether mud flaps will do anything on your car, and what to buy if they will.
Floor Mats & Liners
Best Floor Mats for the Model Y Juniper (2025-2026)
Six mat sets listed specifically for the refreshed 2025-2026 Model Y footwell, cargo floor and frunk tub.
Guides
Tesla Accessories: Returns and What to Check Before Fitting
How return rules differ between Tesla, Amazon and brand-direct stores, and which parts become non-returnable once fitted.